
Playing around with Gaussian Splat
Photogrammetry has held my interest for a very long time. After all, my profile picture, almost everywhere, is a LiDAR scan of my head that I accomplished with the FaceID of an old iPhone about five years ago.
Recently, I stumbled upon a new paper about something called Gaussian Splatting. This topic is fascinating because, instead of creating a 3D mesh, it more closely resembles a point cloud that is expanded and shaped in such a way that it looks highly realistic. One usecase that interests me in particular is bringing these in as VR backdrops.
I initially followed the guide on their GitHub page on my Windows virtual machine, the one that controls my RTX 4080. Unfortunately, I encountered numerous issues with compiler dependencies in Visual Studio. They would never integrate into my path, and every time I added something to the app, another part would malfunction. I speculate this occurred because of the unique installation paths in my VM, where almost nothing is installed on the C drive.
Subsequently, I moved the 4080 to my host device on Linux and followed the guide there, finding it surprisingly straightforward to operate.
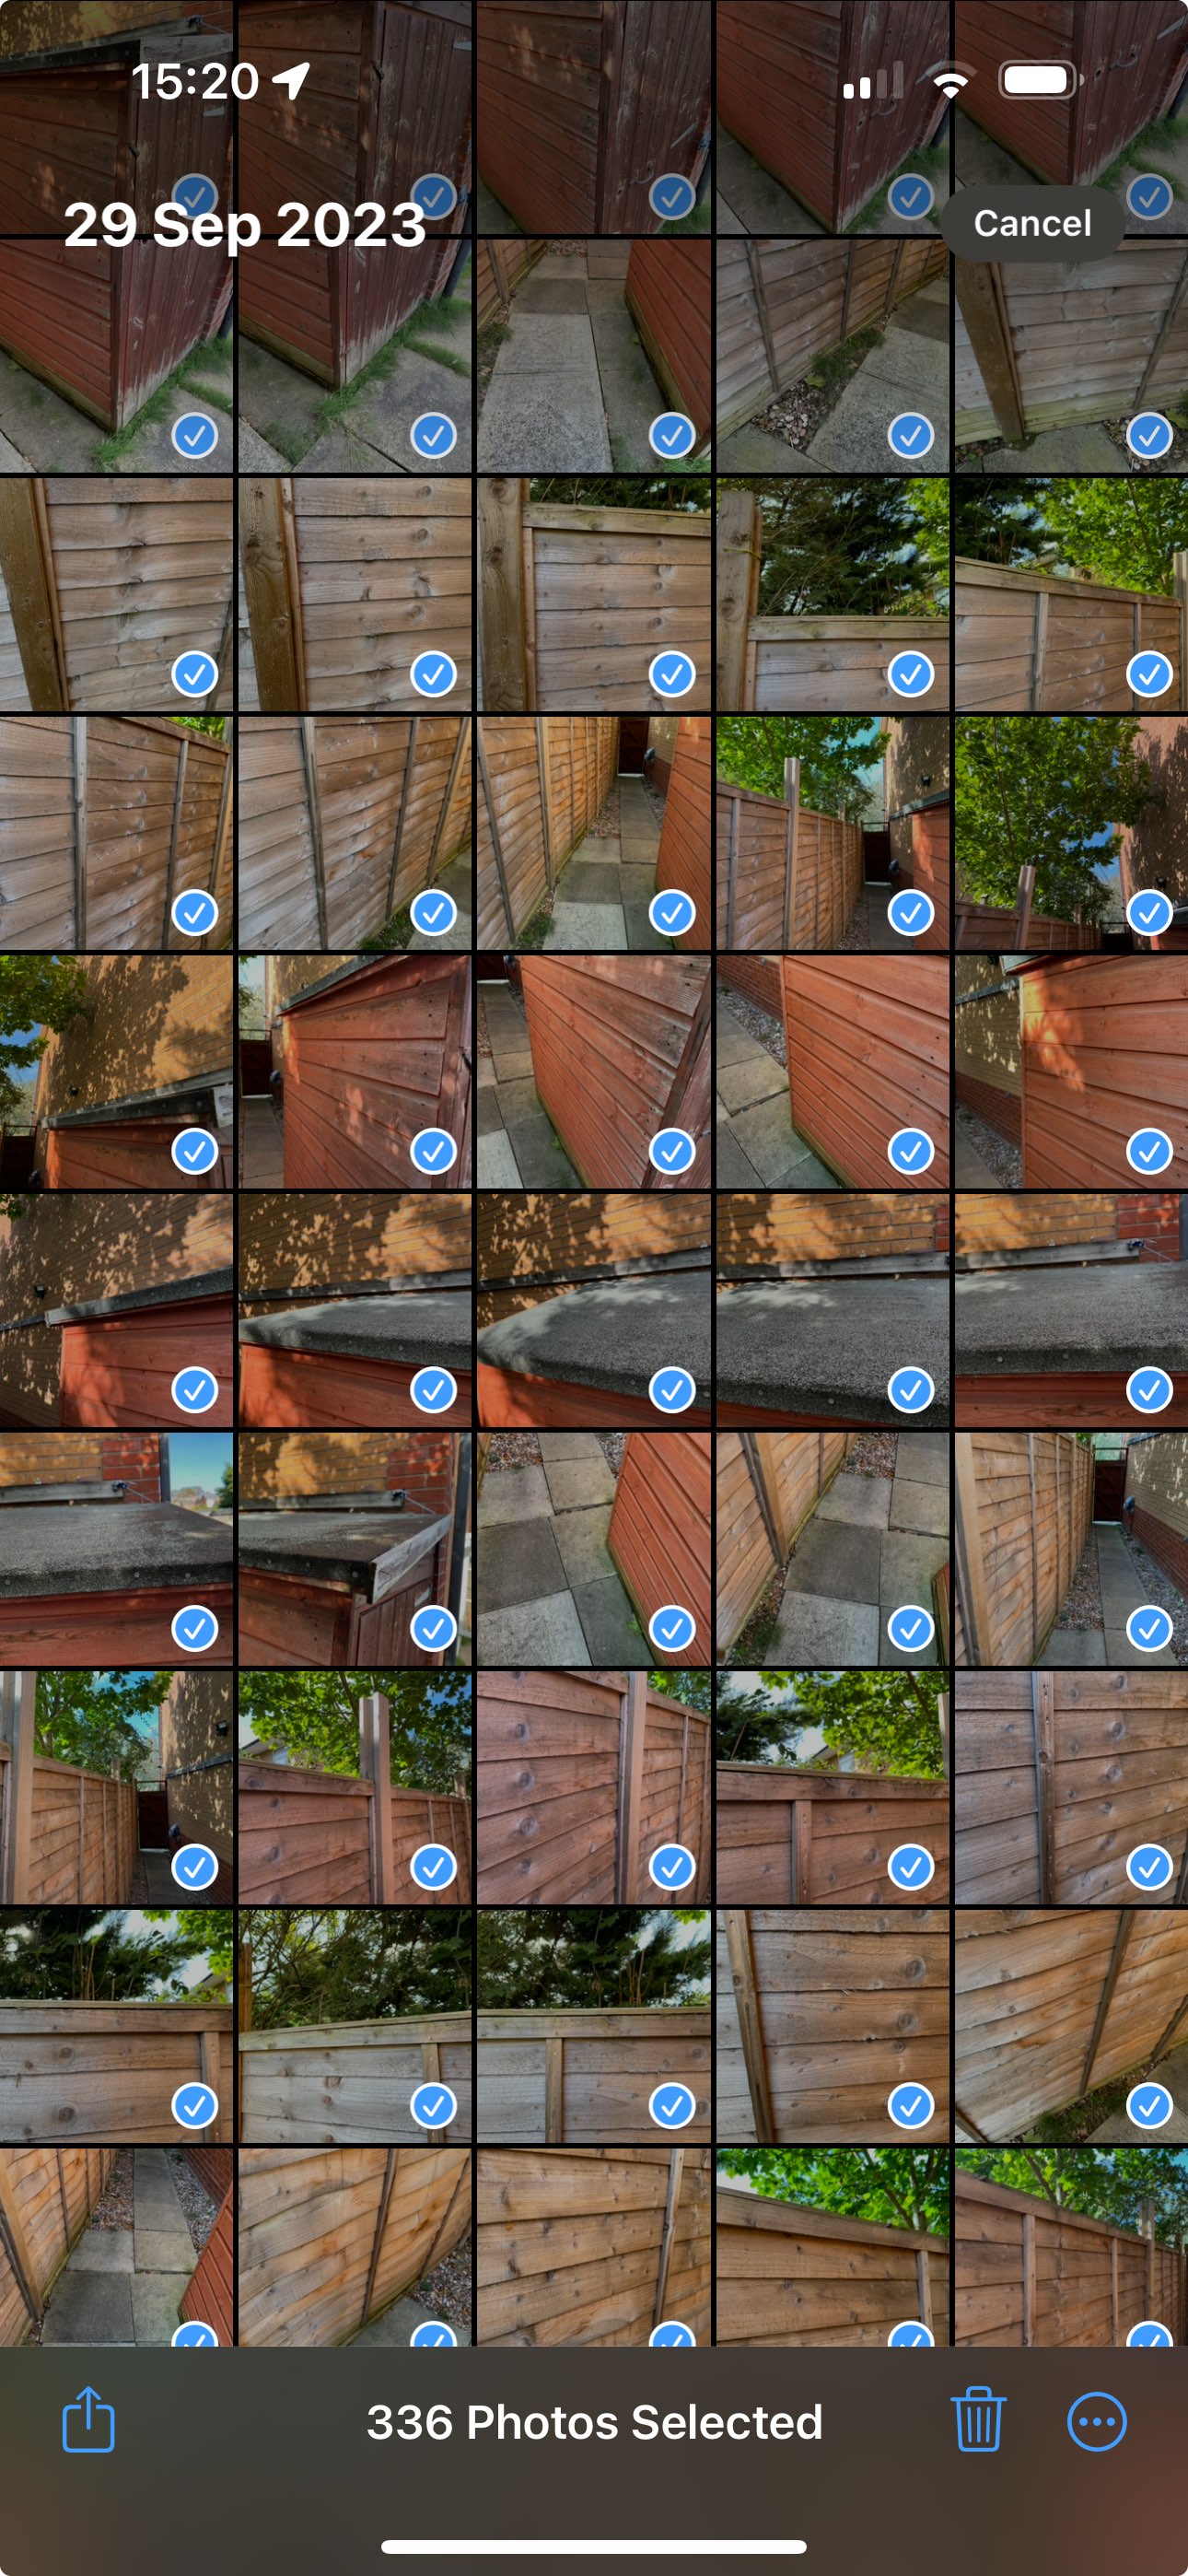
Eager to give it a solid chance, I ventured into the alley next to my house, took over 300 photos from various angles, and transferred them to my computer:
This is what the shape of the point cloud looked like out of the box in Blender:

Now, I have a 4080, and the only downside compared to my old 3090ti is that it has 16 gigs of VRAM, instead of 24. This limitation had never posed a problem until today. The GitHub repo suggests needing 24 gigs of VRAM, but I decided to run it anyway. Out of the default 30,000 iterations, it completed 11,350.
Fortunately, the default script configuration saves a model at 7,000 iterations and another one at 30,000. My process failing before the midpoint still left me with a lower-quality model to examine. Its reasonable appearance inspired me to proceed further, leading me to use this command:
python train.py --iterations 30000 \
  --save_iterations 7000 11000 15000 19000 20000 21000 22000 23000 24000 25000 26000 27000 28000 29000 30000 \
  --densify_until_iter 7500 \
  -s data/garden
I halved the densify_until_iter parameter, enabling further progress with the same amount of VRAM usage, and added many “checkpoints” to ensure I would still have a working model even in case of failure. Luckily, this allowed me to reach 30,000 iterations, using 15.9GB of VRAM.
Here is a video of the end result. I believe it looks incredible, and it would appear even better with a central model instead of a corridor. I will certainly explore this further.